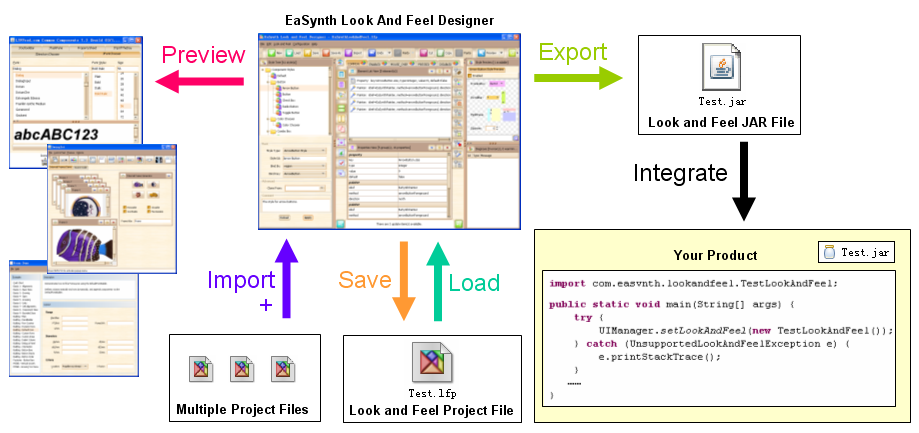
EaSynth Look And Feel Designer is a tool for developing new look and feel, its main use cases can be represented with the figure below:

Now let's have a quick start on using this tool, by going through the steps below:
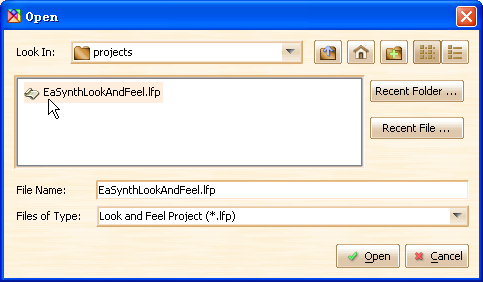
If will be good to load an existed look and feel project to understand what can we do with the tool. In the "projects" folder under the installation directory, there is a file named "EaSynthLookAndFeel.lfp", it is the project file of EaSynth Look And Feel, which is open-sourced as a sample look and feel project.
Now let's load this project, please click the "Load" button in toolbar, or select the menu "File->Load", in the popup file chooser we select the "EaSynthLookAndFeel.lfp" file and load it.

After loading, you can browse its content by choosing different component styles on the left.
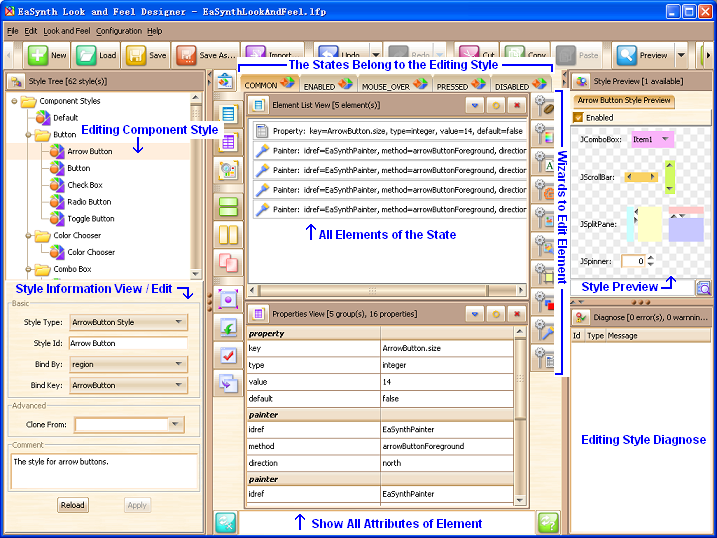
Now we can modify something on the loaded look and feel project. As an example, let's work on the checkbox button style.
First of all we should select the "Check Box" style, it is under the "Button" folder in the list. We will see it contains 5 states: COMMON, ENABLED, MOUSE_OVER, SELECTED and DISABLED, each of them represent the state of the checkbox, so we can change the content of state to customize the checkbox's look on each state.
We can select the ENABLED state, and double-click the first element of it, that is the ImageIcon used to render the checkbox in default state, we can change it.
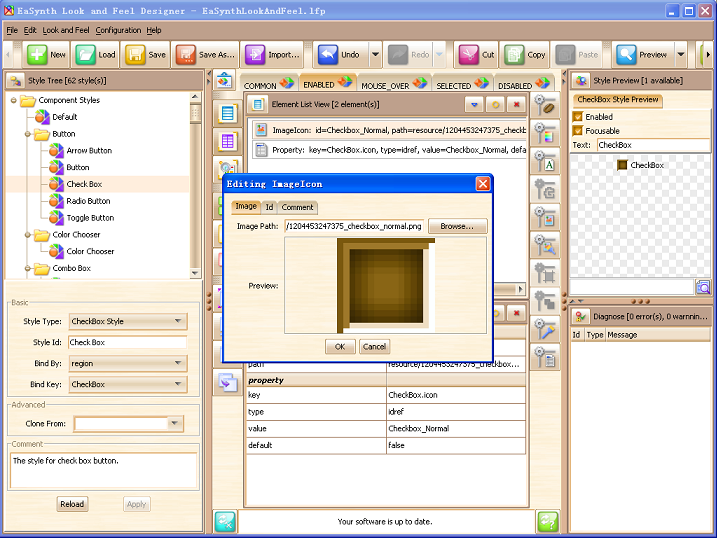
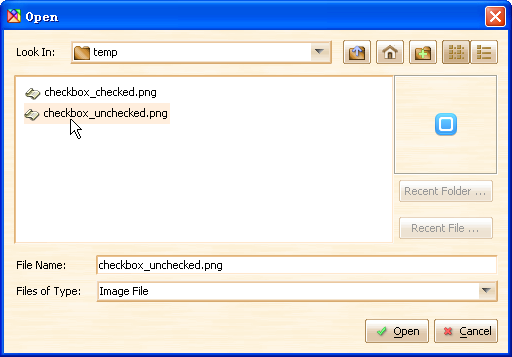
We can click the "Browse..." button to choose another image file as the checkbox icon:
We can also change the icons for the MOUSE_OVER, DISABLED and SELECTED State:
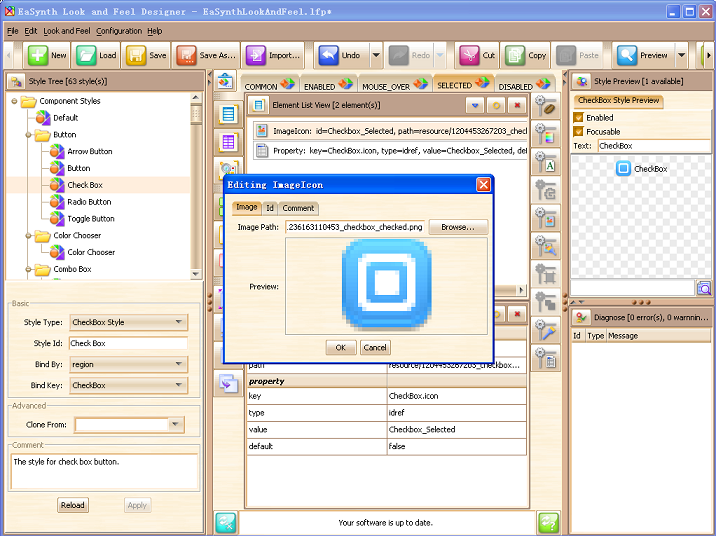
Once we finish these, the checkbox will have different look, we can see it in the style preview area on the right.
If you need more information about style editing, you can read the Edit Style section.
Now we have changed something on the look and feel, and we may want to save our works. Since we don't want to mess the sample look and feel project, let's save it as another file.
Just click the ![]() button in the toolbar or select the menu "File->Save As...", choose
the directory and specify the file name, then it will be done.
button in the toolbar or select the menu "File->Save As...", choose
the directory and specify the file name, then it will be done.
The saved project file contains all information about the look and feel, including the images and used Java class files.
It is true that we can preview the editing style in the style preview area, but sometimes a component may consist of several styles, previewing one style is not enough in this case. For example, a slider consists of Slider, Slider Track and Slider Thumb styles, when we finish all these styles, we can preview them respectively (see the figure below), but we may also need to preview the whole slider look, how could we achieve that?

The answer is to use the Synthetic Effect View. There are 3 different views provided by the tool: element list view, properties view and synthetic effect view. The element list view and properties view will be opened by default, you can open/close the view by clicking the toggle buttons for them.
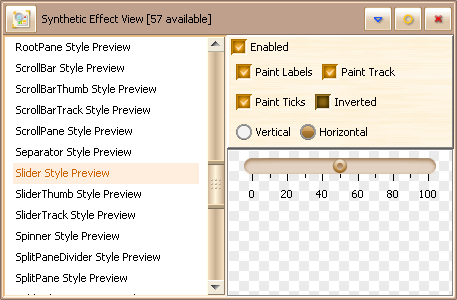
In the Synthetic Effect View, we can preview all styles on one components, the picture above is an example of previewing the whole slider look.
However, it is still not enough in some cases. We may want to see how the component is shown with other components, thus we can see if the styles are matched between different components. How could we do then? We could integrate the editing look and feel into our Swing demo to see the effect, but it is so boring to do this time by time. A better approach is to use the look and feel preview provided by this tool, you can preview your editing look and feel on the predefined Swing applications, or just preview it on your own applications.
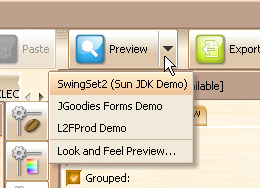
Click the arrow button beside the "Preview" button, a drop-down list will popup, you can choose an application to preview your editing look and feel. You can also configure your own application for preview.
Once you want to deliver you look and feel, you need to export it to a jar file, which is much smaller than the project file, and can be easily used in any Swing applications.
Click the "Export..." button in toolbar or select the menu "Look And Feel -> Export...", you will see a window like this:
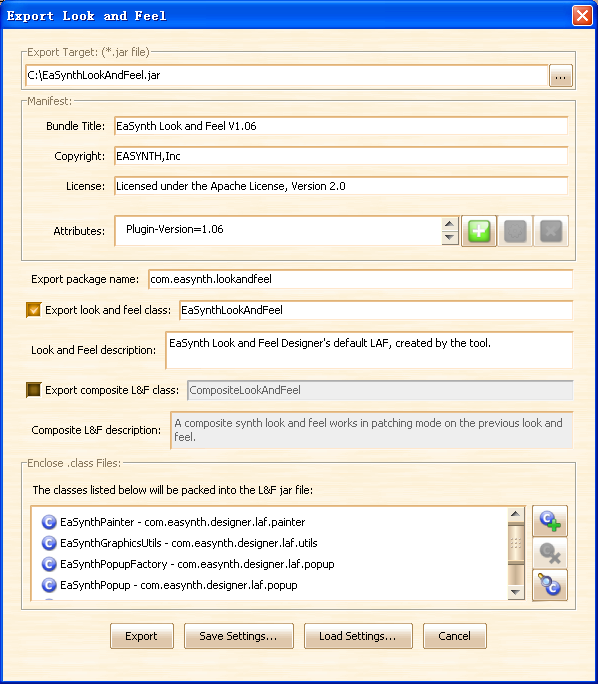
Just fill in everything needed and export the jar file. If the look and feel have used some external classes, make sure they are listed at the bottom, normally they will be found automatically and you don't need to change the list.
The settings on this window can be saved, so that we can load them in the future. It is useful when you need to deliver multiple editions of the look and feel, you don't have to fill in everything time by time.
You may find more details about the L&F export in the Export section.
That's all for the quick start, more detail information can be found in other sections, good lock!